QuickBite
QuickBite - Food Management System
QuickBite is a fully responsive web-based food management system designed to simplify online food ordering and management. It provides an intuitive user interface for customers to explore the menu, add items to the cart, view the total cost, and proceed to checkout with Stripe payment integration. On the administrative side, QuickBite allows administrators to manage the menu by adding, updating, and removing items, as well as tracking orders and updating order statuses efficiently.
Tech Stack:
- Frontend: Vite + React
- Backend: Express.js, Node.js
- Database: MongoDB
- Payment Gateway: Stripe
Features
- User: Browse the menu, add items to cart, view total, and checkout for payment.
- Admin: Add, remove, and list products; manage orders and update order status.
- Fully responsive interface adaptable to any device.
Setup Instructions
1. Project Structure
This repository contains three main folders:
- Frontend: Contains the user interface code.
- Backend: Manages backend logic, including database operations and authentication.
- Admin: Contains the admin interface.
2. Prerequisites
- Node.js and npm installed on your machine.
- MongoDB account with a configured cluster.
- Stripe account for payment functionality.
3. Steps to Clone and Run Locally
Step 1: Clone the Repository
git clone https://github.com/yourusername/QuickBite.git
Or download the zip file and extract it.
Step 2: Frontend Setup (User Interface)
- Navigate to the
Frontendfolder:cd QuickBite/Frontend - Install dependencies:
npm install - Start the development server:
npm run dev - Open the localhost link from the console to view the frontend interface.
Step 3: Backend Setup
- Configure MongoDB:
- Create a MongoDB account and set up a cluster.
- Obtain the MongoDB connection URI and add it to
db.jsinBackend/config.
- Configure Environment Variables:
- Create a
.envfile in theBackendfolder and add the following keys:JWT_SECRET="random#secret" STRIPE_SECRET_KEY="your_stripe_secret_key"
- Create a
- Start the backend server:
- In a new terminal, navigate to the
Backendfolder:cd QuickBite/Backend - Start the backend server:
npm run server - The backend should be running on
localhost:4000.
- In a new terminal, navigate to the
Step 4: Admin Interface Setup
- In a new terminal, navigate to the
Adminfolder:cd QuickBite/Admin - Install dependencies:
npm install - Start the admin development server:
npm run dev - Access the admin interface via the localhost link in the console.
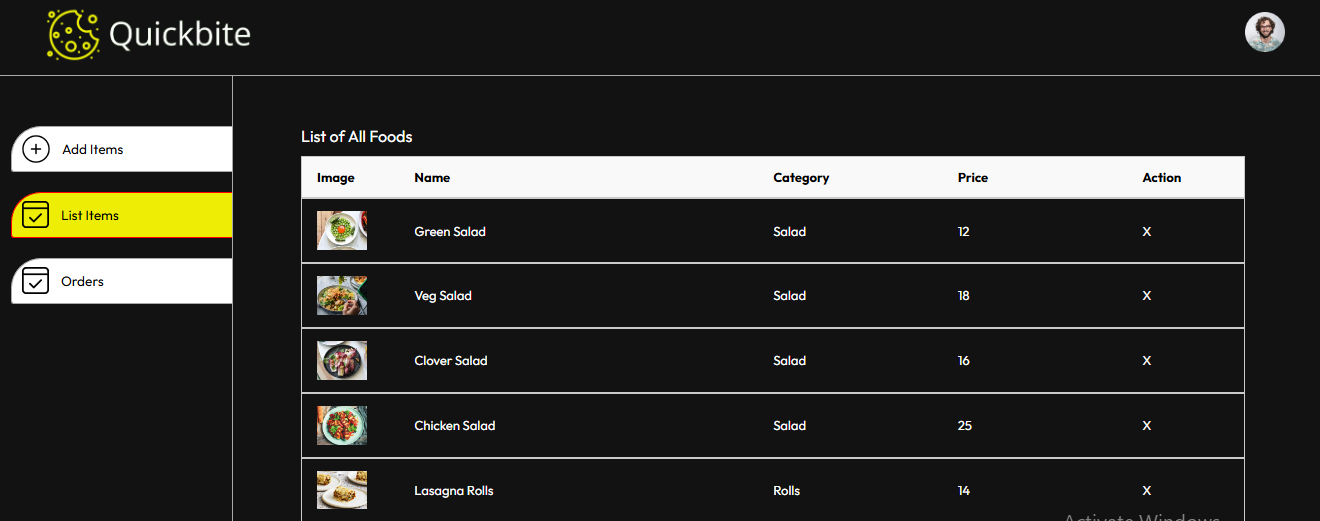
4. Screenshots
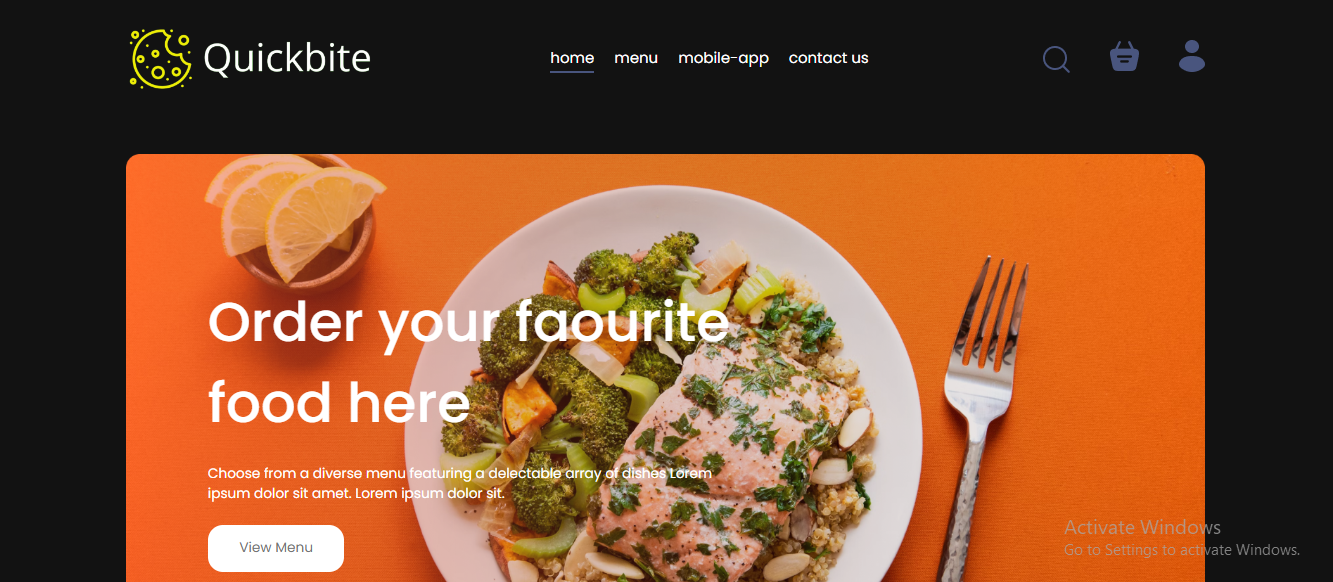
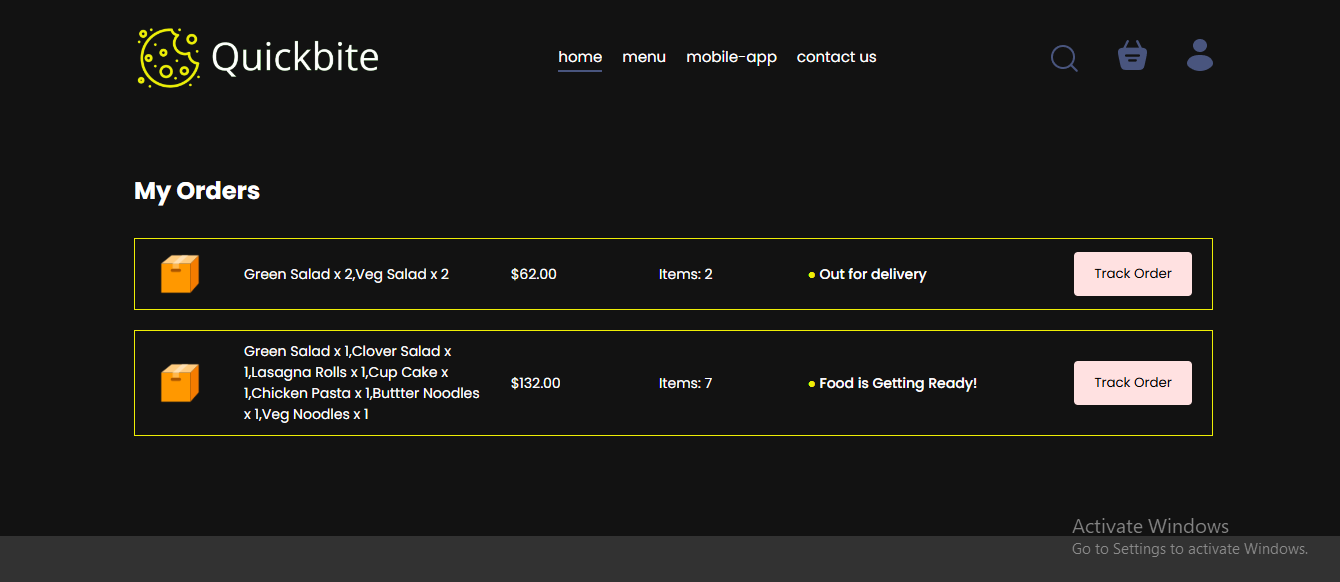
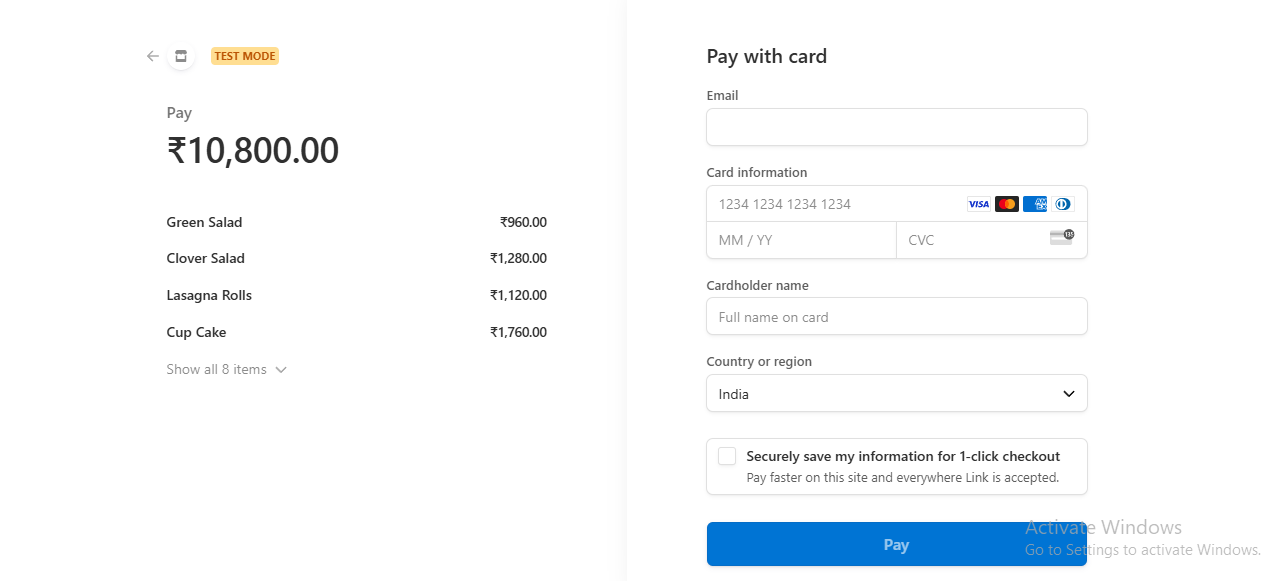
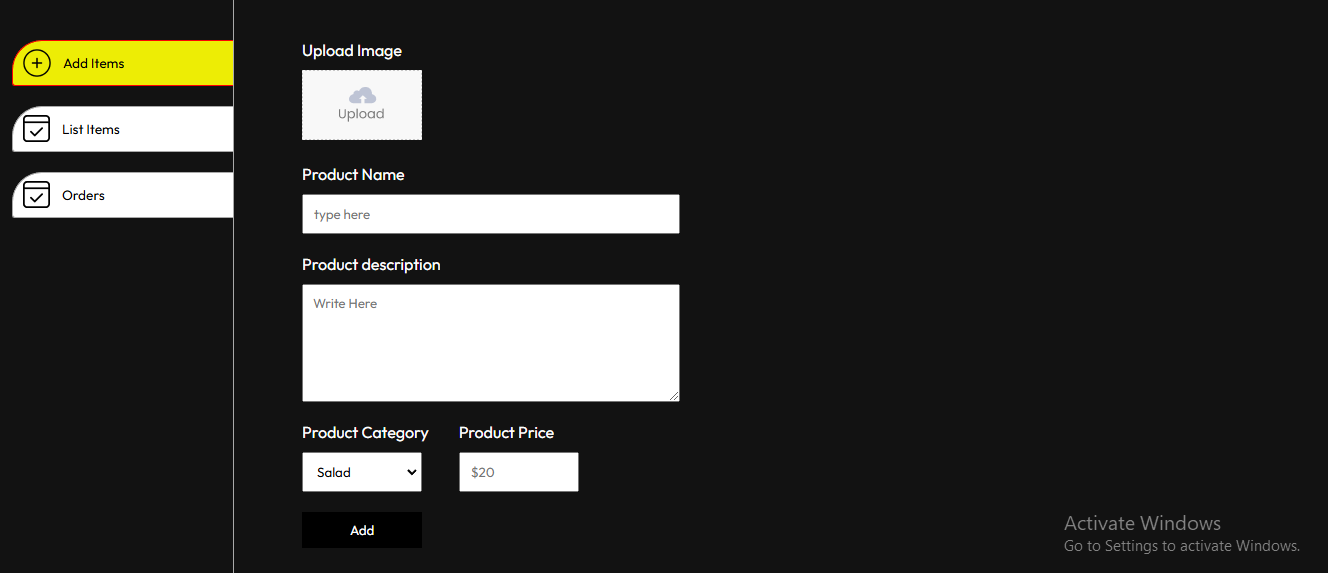
Here is a walkthrough of the “QuickBite” application with screenshots for key functionalities:
User Interface
-
Home Page
-
Menu

-
Cart View

-
My Orders
-
Stripe Payment
Admin Interface
-
Add Products
-
List Items
-
Orders View
